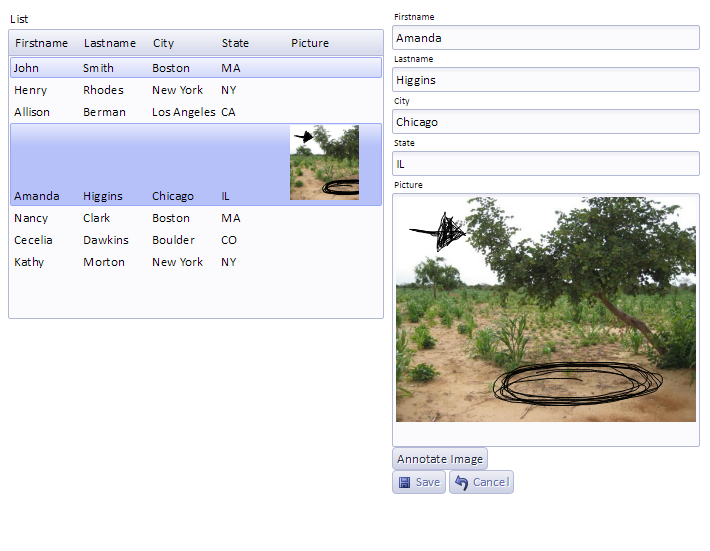
Annotation on Form View Controls
Description
You can annotate form view controls such that a user can draw over captured images with an ink control and then save the modified image to a list.
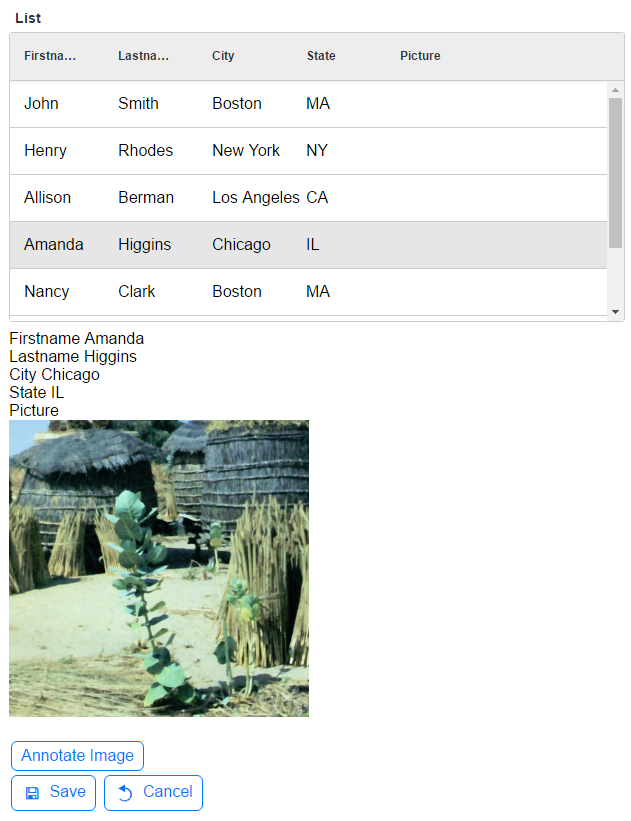
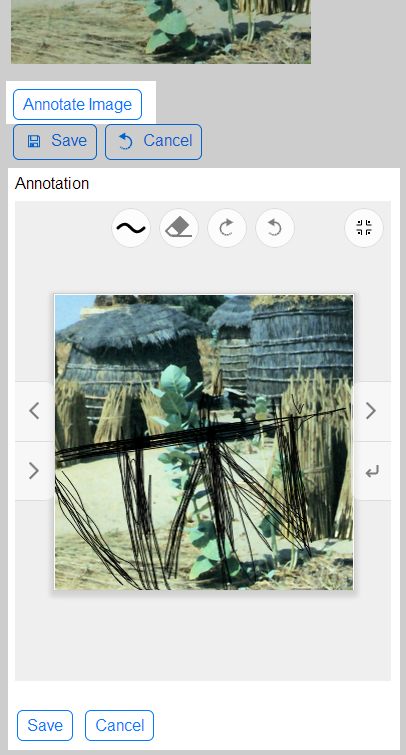
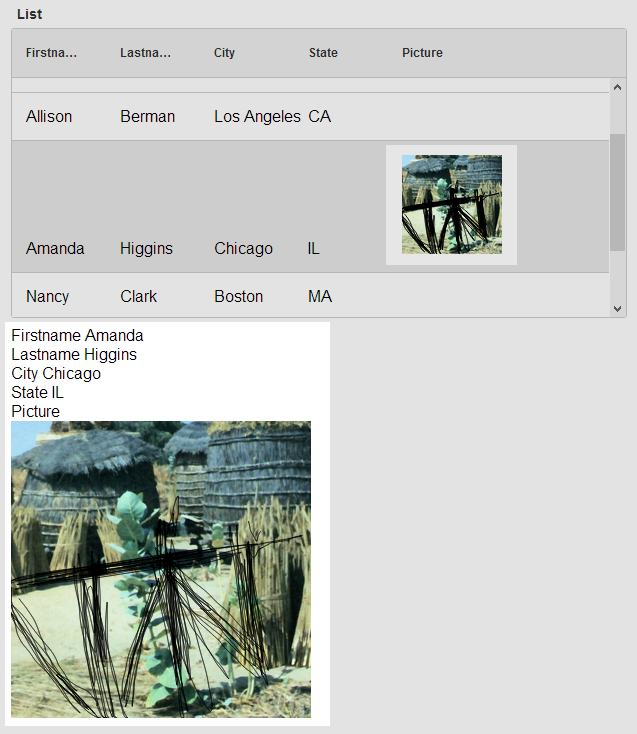
For a video explanation on how to implement annotations watch these two videos: Part 1, Part 2.
Implementing an Annotation
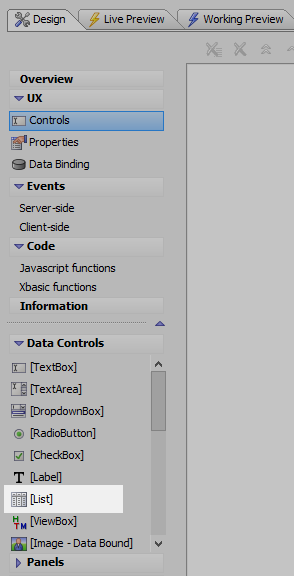
In the UX Builder, open the Controls page. In the Data Controls menu click [List] to add a list control to the component.
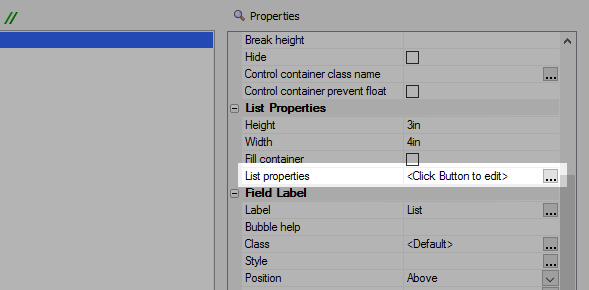
In the control's properties list, in the List Properties section, click on the 'List properties' property to open the List Builder.
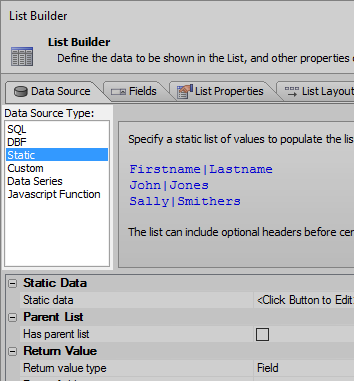
In the List Builder's Data Source pane select 'Static' in the Data Source Type' menu.
Click the
 button next to the Static data property.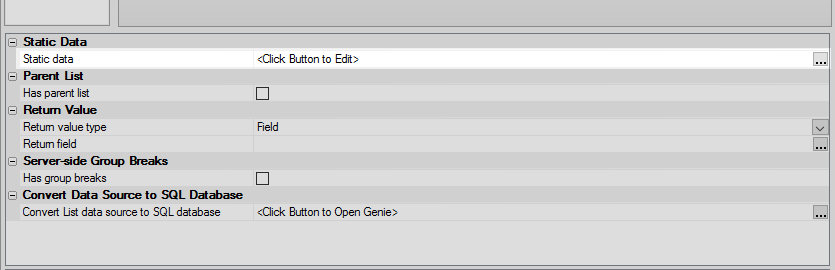
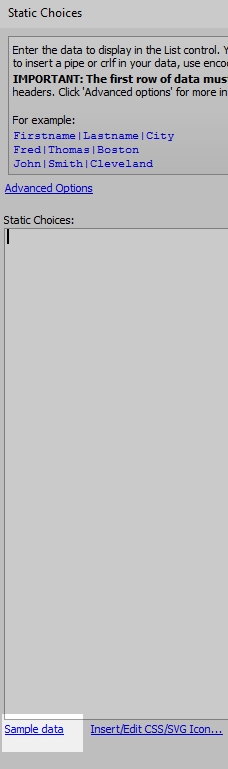
In the Static Choices dialog click the 'Sample data' button in the lower left corner.
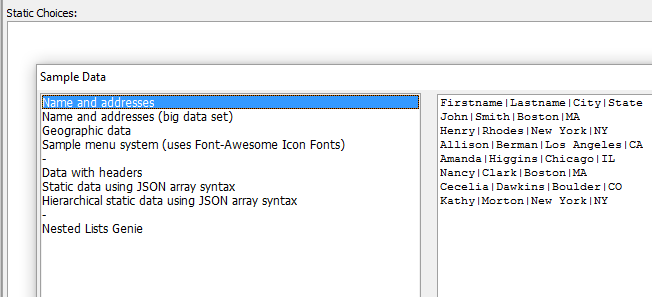
Add the 'Name and addresses' data and click OK.
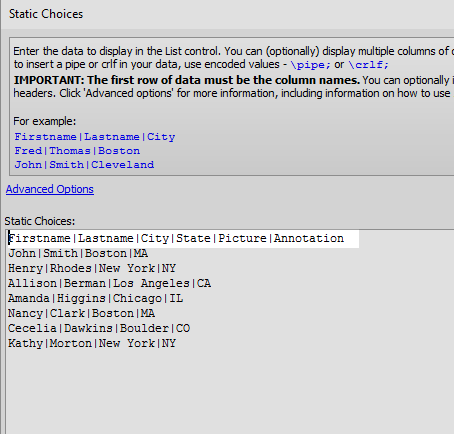
In the first row of the data add a fifth field named 'Picture' and a sixth field named 'Annotation'. Your Static Choices data should look like this, click OK:
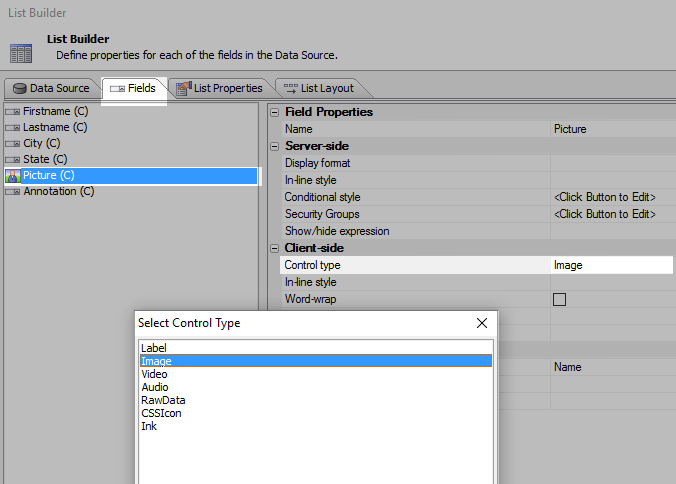
Open the List Builder's Fields pane. Highlight the Picture field and go to the Client-side section of that field's properties list. Change the 'Control type' property to 'Image'.
Drop down to the Picture field's Image Properties section and change the 'Image Data type' property to Base64.
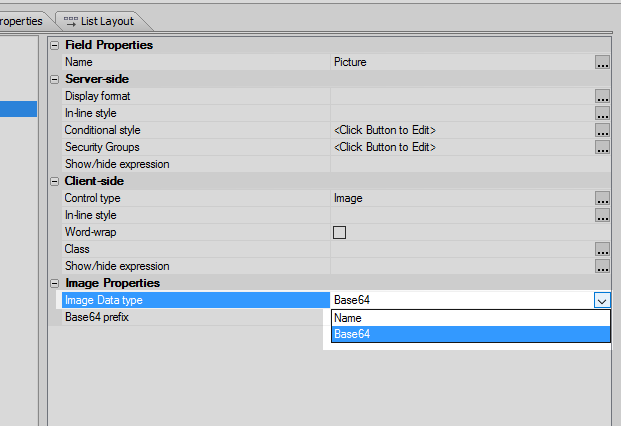 It is important to do this before generating a template for this field
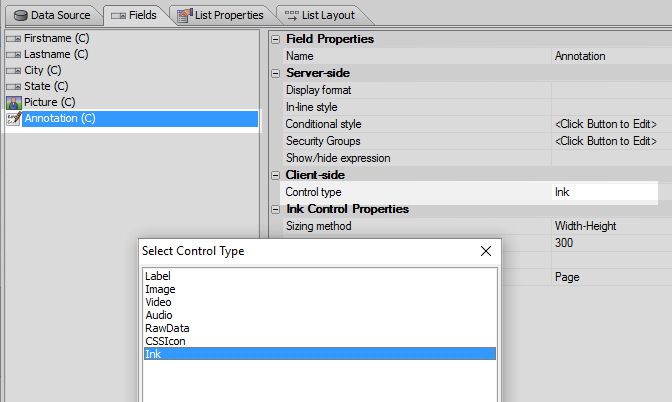
Highlight the Annotation field. Change its Control type to 'Ink'.
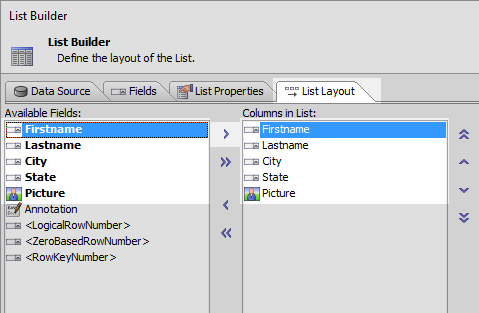
Open the List Builder's List Layout pane. Move the Firstname, Lastname, City, State, and Picture fields from the Available Fields list into the Columns in List section using the blue > arrow. Do not move Annotation field.
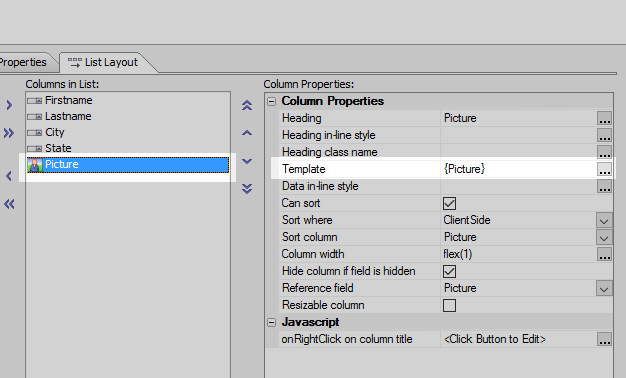
Highlight the picture field in the 'Columns in List' section. In the Column Properties section click the
button next to the "Template" property.
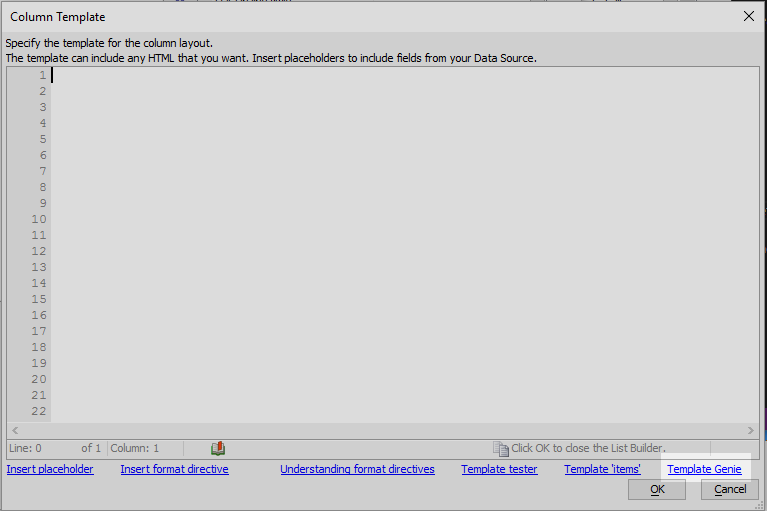
The Column Template dialog will open. Erase any current code in the dialog and click on the Template Genie. Select "Display Ink Over Image".
Select the 'Picture' field for the '' setting and the 'Annotation field for the ''setting. Click OK to close the List Builder.
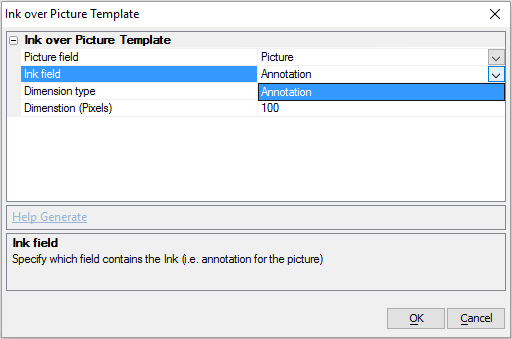 The size of the image as it will appear on the list control is defined here (100px by default). Also note that the image source is defined here as being base64.
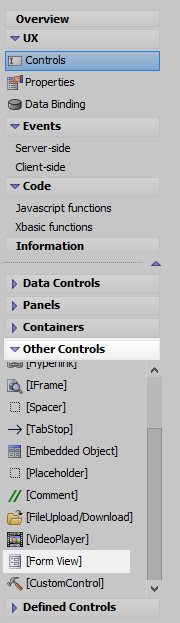
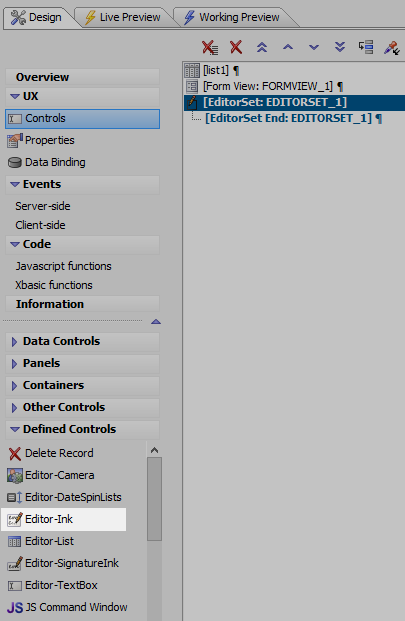
On the UX Controls page open the Other Controls menu. Click on [Form View] to add a form view control to the component.
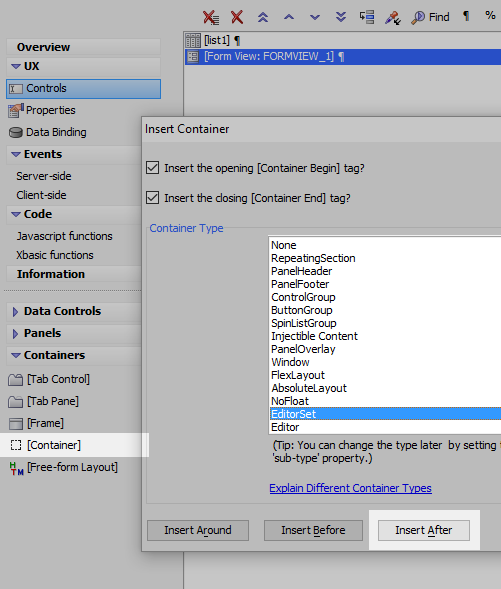
Next open the UX Controls page's Container menu and click on [Container]. From the Container Type list choose 'Editor Set'.
Now open the UX Controls page's Defined Controls menu. Click on the Editor-Ink option to add an Ink editor inside the editor set. Name the control EDITOR_INK.
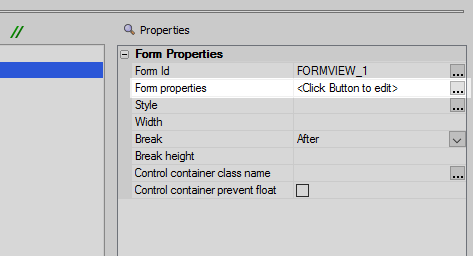
Highlight the Form View that you defined earlier. In the Properties list click the
button next to the 'Form properties' property to open the
Form View Builder.
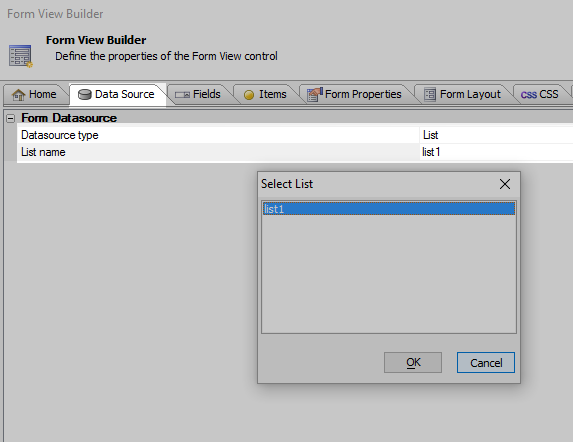
On the Form View Builder's Data Source pane select 'List' from the 'Datasource type' dropdown. Click the
button
next to the "List name" property and select the list that was defined earlier, in this case list1.
Highlight the Annotation field.
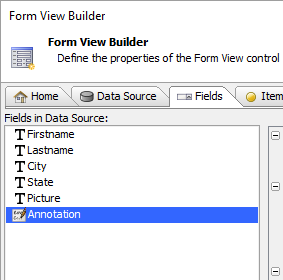
In the properties list change the Annotation's 'Field type' to 'Ink'.
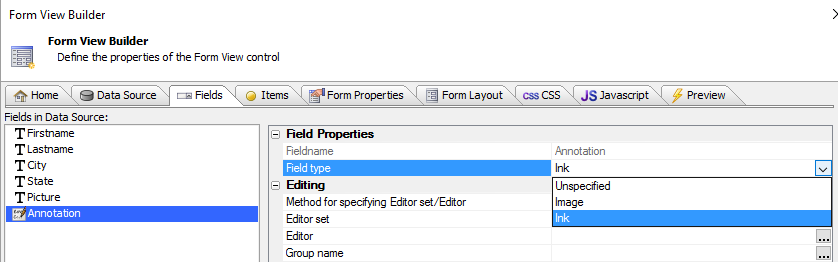
Click the
button next to the Editor set property in the Editing section.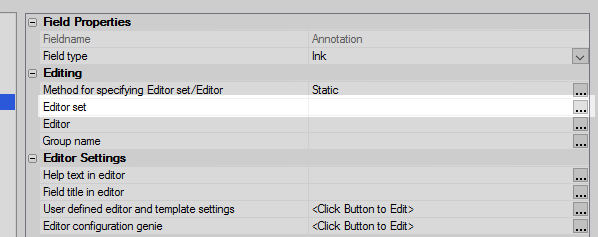
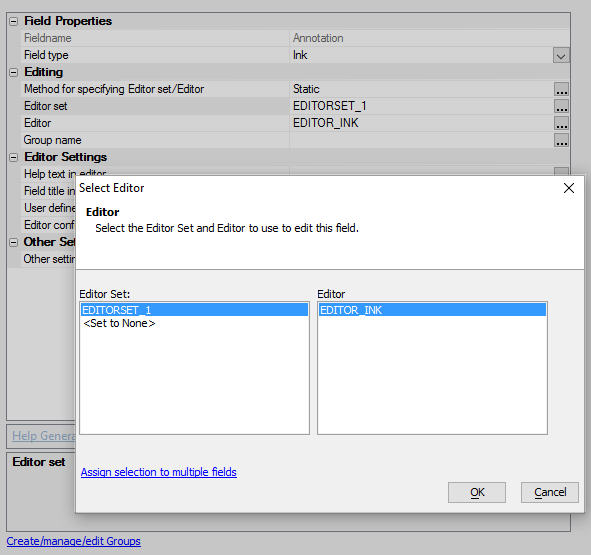
In the "Select Editor" dialog set the 'Editor Set' to be 'EDITORSET_1' and the 'Editor' to be the ink editor you defined, in this case EDITOR_INK. Click OK
Open the Form View Builder's Fields pane. Highlight the Picture field.
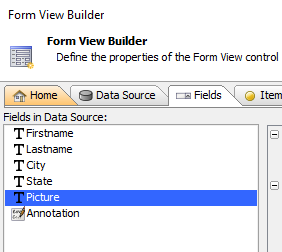
In the Picture field's properties list change the 'Field type' to Image.
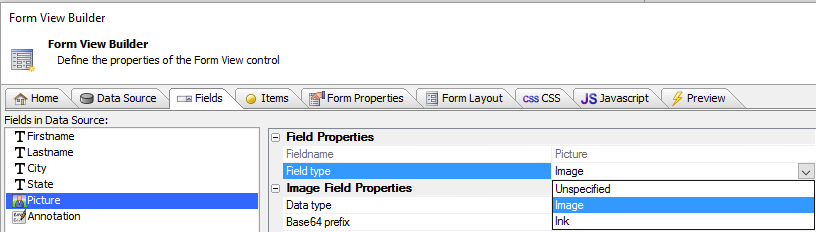
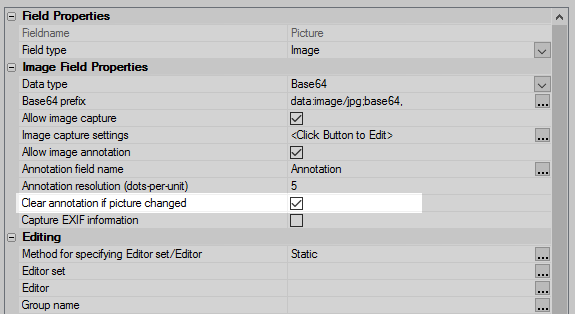
View the 'Image Field Properties'. Change the Data type to be 'Base64'.
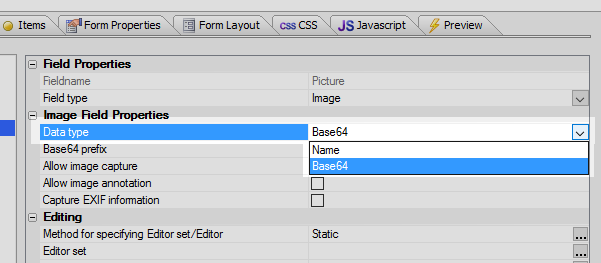
Check Allow image capture
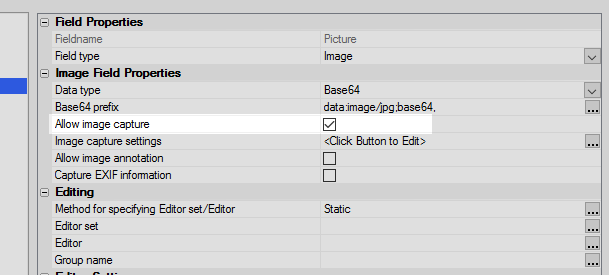
Check 'Allow image annotation'.
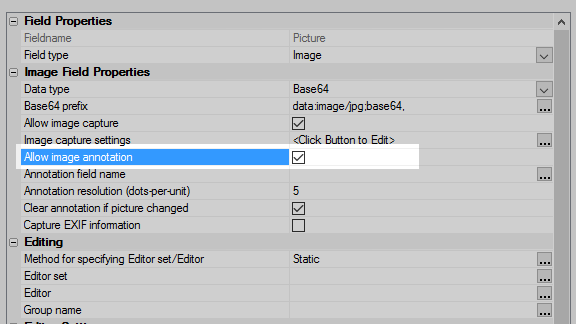
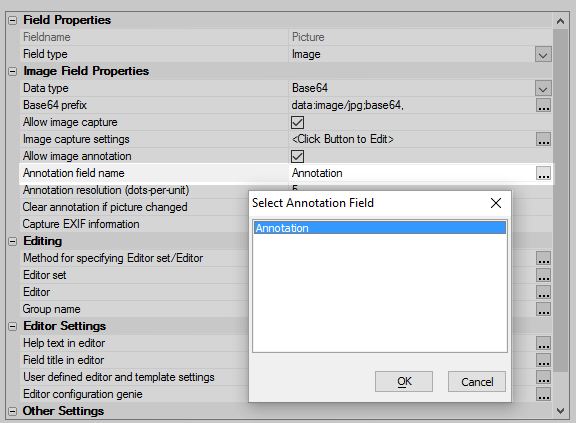
For the 'Annotation field name' property select 'Annotation'
Check 'Clear annotation if picture changed.
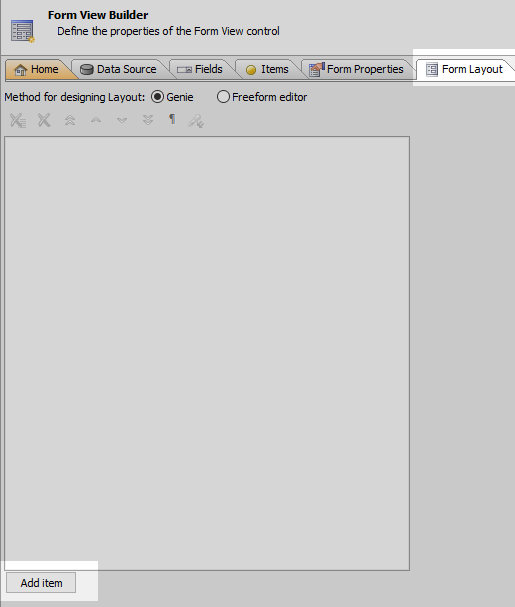
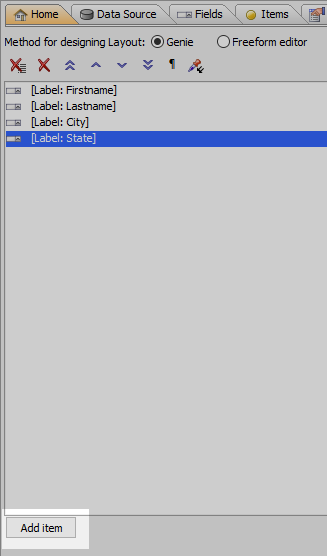
Open the Form View Builder's 'Form Layout' pane. Click the Add item button.
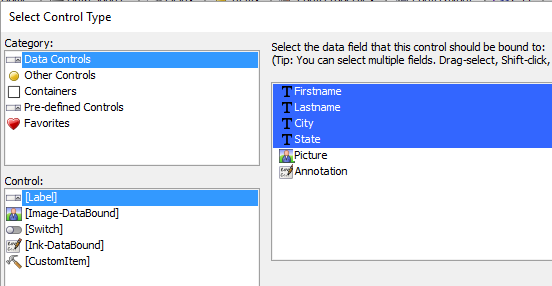
The Select Control Type dialog will open. In the 'Category' menu select 'Data Controls'. In the 'Control' menu select [Label], and in the fields list select the Firstname, Lastname, City, and State fields. Then Click OK.
Click the 'Add item' button again.
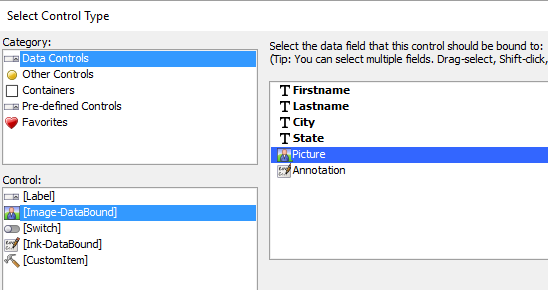
In the Select Control Type dialog select 'Data Controls' again in the Category menu. In the Control menu select [Image-DataBound] and in the fields list select the 'Picture' field. Click OK.
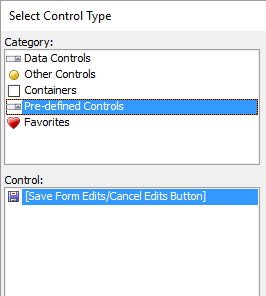
Click the 'Add item' button once more. In the Category menu select 'Pre-defined Controls' and in the 'Control' menu select [Save Form Edits/Cancel Edits Button]. This will allow you to save information from the Form View control into the List Control. Click OK.
Highlight the [Image-DataBound:Picture] item in the item list.
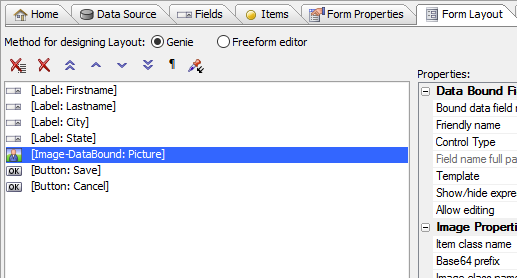
In the Camera/Image Capture section of the properties list check 'Allow image capture'
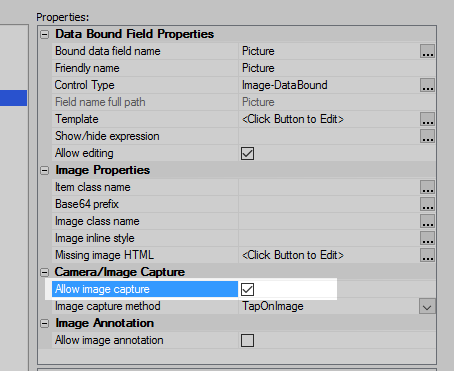
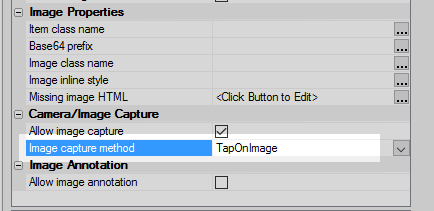
Set Image capture method to be 'TapOnImage'.
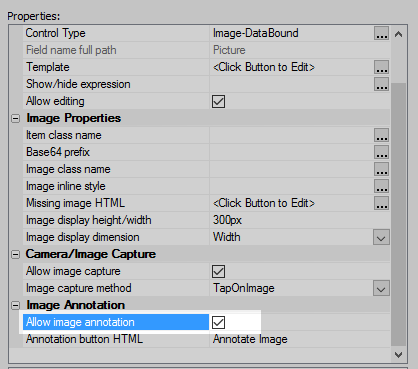
In the 'Image Annotation' section check 'Allow image annotation'
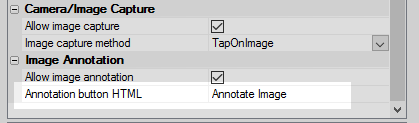
Leave the 'Annotation button HTML' text as 'Annotate Image'.
Close the Form View Builder and run the component in Live Preview. Click on one of the List control rows to open the Form View.
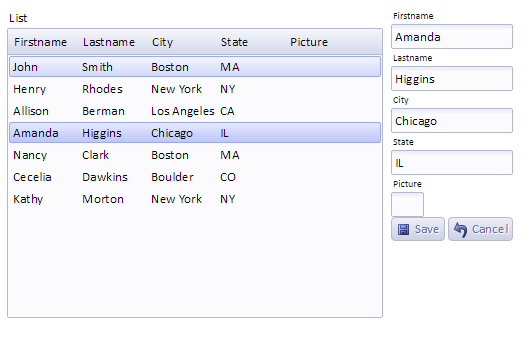
Click on the empty Picture field to add an image to the form view.
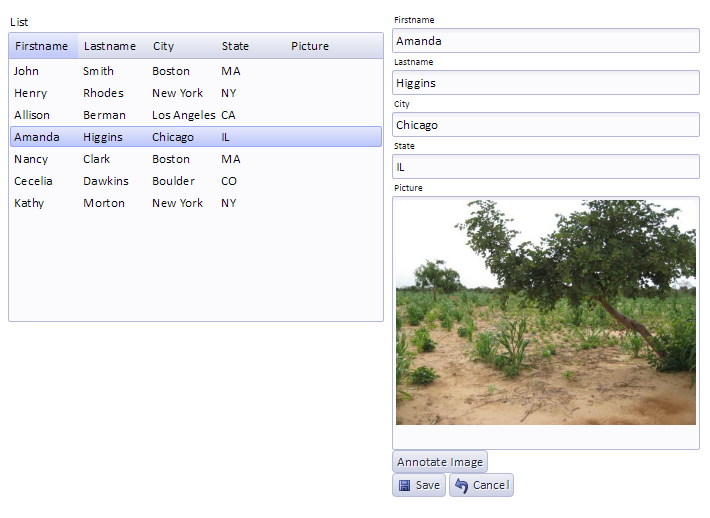
Click the Annotate Image button to draw on the image using the Ink control.
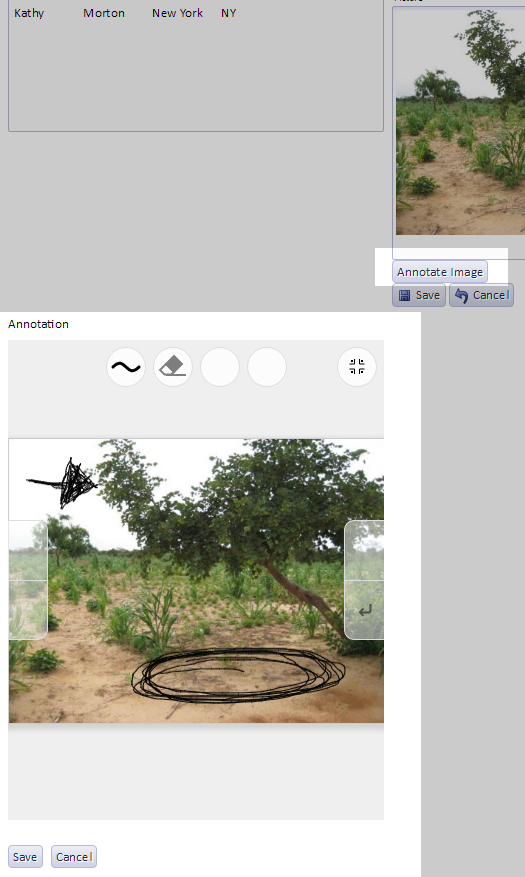
Save the altered image back into the List Control.